Making Compost
Want to do something good for the world and save money, too? Then stop buying fertilizer and make compost instead. This time of year is a perfect time to begin making your compost heap as their is such an abundance of autumn leaves, weeds and spent plants.
In the world’s wild places no-one improves the soil or spreads fertiliser, yet they are packed with plants. It’s one of the amazing things about plants and soils – they’re in perfect balance. Plants grow by extracting nutrients from the soil and the soil is replenished with material that falls from plants. Fallen leaves, bark, twigs, fruit and branches all rot back into the soil, breaking down into the original nutrients the plant took up in the first place.
You can encourage this natural cycle in your own garden by minimising the amount of plant matter you discard, returning it instead to the soil. The more compost you can add to your soil over time, the more fertile and well-structured it will become, and the less fertiliser you will need to apply.
Sweep & spread
Some material can be swept up and spread on the ground between plants – fallen leaves and small twigs, for example. Even leafy hedge clippings can be raked up and spread thinly around the place. Lawn clippings can be disposed of this way too, as long as you spread them thinly so they don’t form a thick, dry mass.
Larger pieces of plant material, such as woody branches take too long to rot as they are and may look unsightly if just stuffed between plants. They need to be shredded or chipped into smaller pieces first. Additionally, fallen fruit will smell as it ferments if spread in large quantities. It needs to be composted first.
If you don’t like the idea or look of raw material, no matter what it is, then everything can be composted first. Some people argue that placing raw material on the soil leads to nitrogen deficiencies in plants (nitrogen is consumed by the rotting process and can be drawn from the soil) but I have not experienced this with my regular, thin spreadings of small amounts of garden waste.
How to compost


Composting is the process of decomposition, which turns plant matter into a soil-like substance that’s nutritious for plants and soil organisms and good for the structure of the soil itself. You don’t need any equipment other than a garden fork and a tarp, although you can buy various bins which minimise the space needed for composting. You may think they look nicer than a heap, too.
Let the worms in
Whether you buy a bin or just pile up the material, make compost on the ground so that soil organisms, which help in the rotting process, can enter. Otherwise add some completed compost to an above ground bin.
Fine rots fastest
Add material to the compost heap or bin as it becomes available. The finer the material you add the more quickly it will turn into usable compost. Break up twigs or run them over with the lawnmower before adding. If you have a mulcher, pass branches through the mulcher first. There’s no point adding thick woody pieces as they will take years to rot.
Balance of ingredients
Good compost is produced by blending leafy ‘green’ matter with harder ‘brown’ matter. ‘Green’ matter includes grass clippings, vegetable scraps, and soft green prunings. ‘Brown’ matter is shredded woody branches, dried leaves, straw and shredded newspaper.
Try to add brown and green matter in layers, not making any layer too thick. If you put in too much green matter, the compost may go sludgy and smelly. Too much brown matter and it won’t break down quickly. With a good balance of the two, composting will proceed quickly.
Too much waste
One problem many gardeners face in making compost is that they generate too much of one material. Lawn clippings are a good example as they often make up the bulk of waste generated in a garden. If you just pour them into the compost bin they often do not compost properly and if you don’t have enough balancing ‘dry’ matter, you cannot layer the clippings as you should.
Compost tumblers were designed primarily for grass clippings as the tumbling action aerates the grass and assists in its rapid decomposition. If you don’t have one, either spread the clippings thinly over garden beds or pile them up separately, moistening them down between each grass-catcher load. Cover the moistened heap.
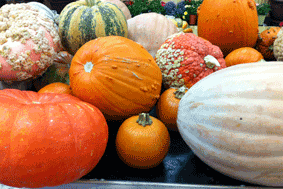
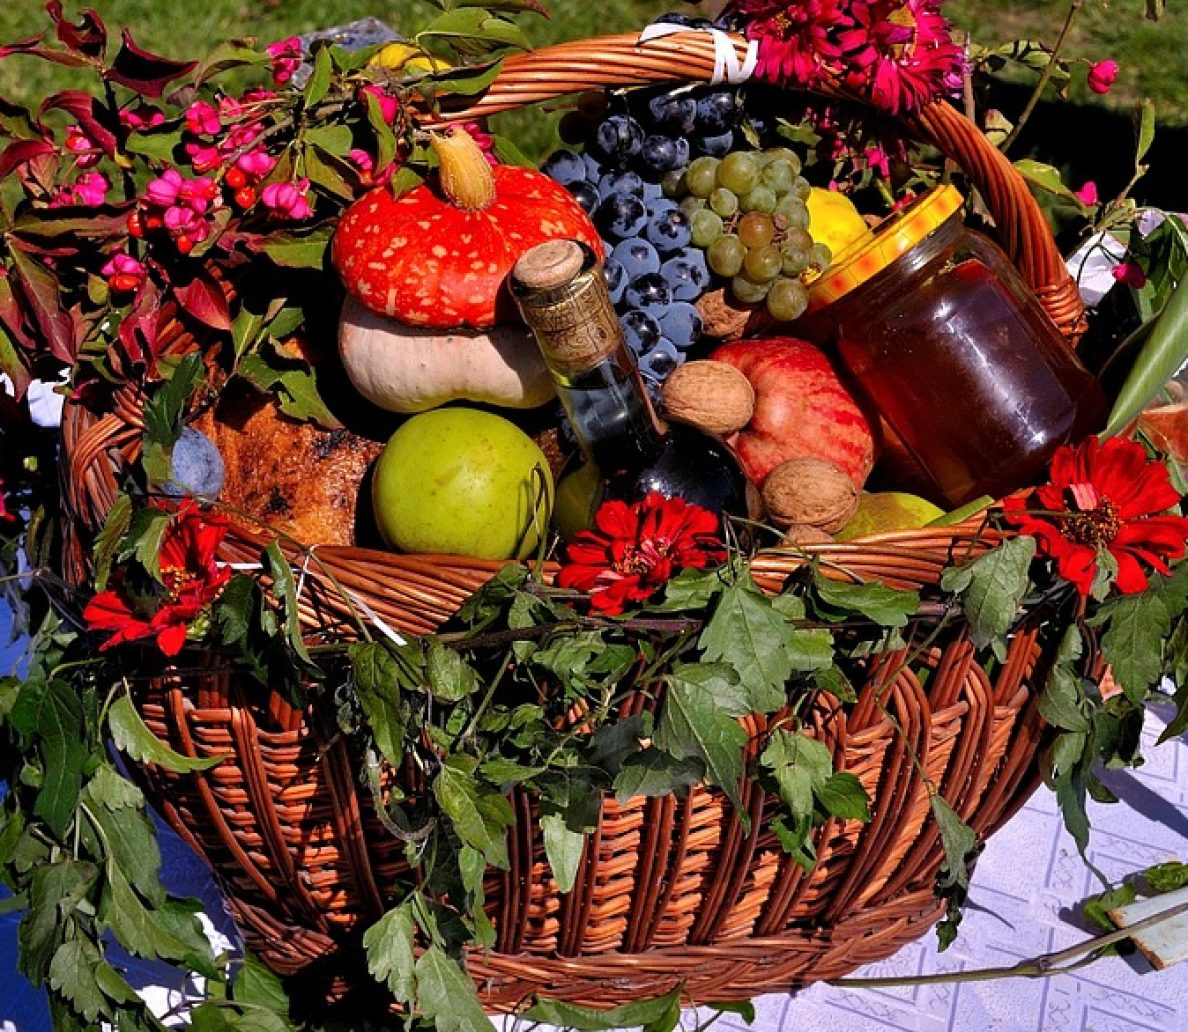
Excessive fallen fruit can be another disposal problem. Its moisture content will make compost bins sludgy if it is all tipped in so use some in the compost bin (preferably with other materials) and bury the rest in holes in the garden.
What not to add
Don’t add meat or fish scraps, or prawn or crab shells (dig a deep hole and bury them instead – they’re great for the soil). Likewise, dog or cat poo, or weeds with seeds attached to them should not go in. If you see flower heads either on the grass or on lawn weeds when you cut the grass, don’t add that lot to the compost or you’ll spread the seeds around the garden. Only add vegie scraps that do not include seeds.
Cover heaps
If you have a compost heap, cover it with a tarp to stop it becoming too wet with rain. In dry times, you may need to wet layers down as you add them as the heap needs moisture to work properly. As the heap grows, turn it periodically so that the outside matter is transferred to the centre.
The composting process
Both bins and heaps soon become alive with worms and many other creepy crawlies. By feeding on the material, these critters are helping to break it down into compost. They’re completely normal and useful. As the material you add rots, its bulk reduces dramatically making room for more. Only when the rotted material fills the bin or the heap can be made no bigger should you consider using the compost.
When fully decomposed the compost will have a pleasant earthy smell and you will see little or nothing of the original ingredients.
How to use
You can spread compost onto any garden bed as a thin mulch (about 5cm deep is ideal). Organisms in the soil will begin to feed on it and in doing so will drag it beneath the surface where it will eventually form humus, the vital ingredient of all fertile soils.
Fallen leaves
If your biggest ‘waste’ problem is leaves falling from deciduous trees, you can do several things with them. You can add them to a compost heap or bin as ‘brown’ matter. You can spread them directly onto the garden as a mulch (though they might blow around if the wind gets up), or you can stuff them tightly into big plastic bags, which can be piled up in an out-of-the-way spot. Make sure the leaves are moist when you put them in the bags and punch two to three holes in each bag to let air in. By spring, the leaves will have partly decomposed into leaf mould, an excellent mulch and soil additive.